fMRI data preprocessing
Bringing it all together - the batch interface
The SPM batch interface allows you to create workflows for executing multiple processing steps sequentially. This means that you can set up one batch file that contains all preprocessing steps that you want to perform.
-
From the SPM menu panel, select
Batch. You will see a pop-up window of an empty batch interface looking like this: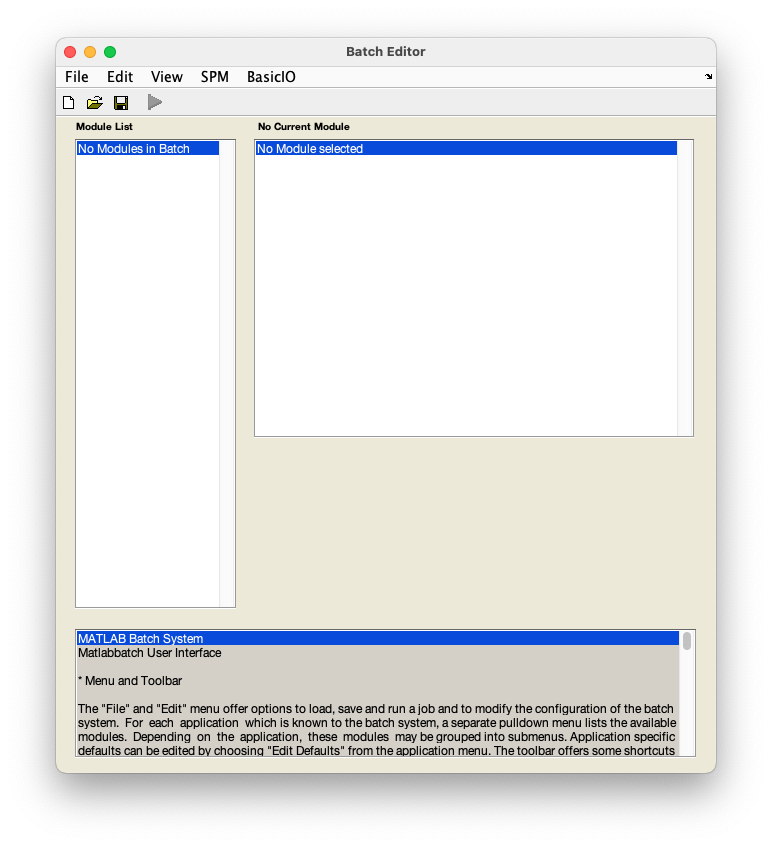
-
Now we will start adding each of our preprocessing steps in the order we want them to be executed, starting with realignment.
- From to top panel of the batch window, select
SPMSpatialRealignRealign: estimate & reslice). - Now complete the realignment tab of the batch with relevant parameters as in realignment:
- Select
DataSession. - In the pop-up window, use the left-hand panel to navigate to
sub-01/func/. - Use the filter box to load the full time series - type
NaNunderneathFilterbutton and press Enter. - In the right-hand panel, select
sub-01_task-auditory_bold.niiand pressDone. - Back in the batch window, navigate to
Resliced imagesunderReslice optionsand selectMean image only.
- Select
- Next, add the slice timing correction module to your batch file -
SPMTemporalSlice timing. - Complete the slice timing module:
- Select
DataSession. - Click
Dependencyin the bottom right corner. - In the pop-up window, select the realigned time series that will be generated during realignment -
Realign: estimate & reslice: realigned images (sess 1)and pressOK. - Select
Number of slices64. - Select
TR7. - Select
TA6.8906or7-(7/64). - Select
Slice order[64:-1:1]. - Select
Reference slice32or64/2.
- Select
- Next, add the coregistration module to your batch file -
SPMSpatialCoregisterCoregister: estimate. - Complete the coregistration module:
- Select
Fixed imageDependency. - In the pop-up window, select the mean image that will be generated during realignment -
Realign: estimate & reslice: mean imageand pressOK. - Select
Moved image. - In the pop-up window, navigate to
sub-01/anat/. - Select the anatomical image -
sub-01_T1w.niiand pressDone.
- Select
- Now add the segmentation module -
SPMSpatialSegment. - Complete the segmentation module:
- Select
DataVolumesDependency. - In the pop-up window, select the coregistered anatomical image
Coregister: estimate: coregistered imagesand pressOK. - Select
Save INU correctedSave INU corrected(Save bias correctedin older SPM versions). - Select
Deformation fieldsForward.
- Select
- Add the normalisation module -
SPMSpatialNormaliseNormalise: write. - Complete the normalisation module:
- Select
DataNew: Subject. - Select
Deformation fieldDependency. - In the pop-up window, select the deformation field that will be generated during segmentation -
Segment: forward deformationsand pressOK. - Select
Images to write. - Click
Dependency. - In the pop-up window, select the realigned and slice time corrected data -
Slice timing: slice timing corr. images (sess 1). - Optional: Under
Writing options, changeVoxel sizesform[2 2 2]to[3 3 3]. This will write images at a resolution closer to that at which they were acquired.
- Select
- Add the smoothing module -
SPMSpatialSmooth. - Complete the smoothing module:
- Select
Images to smoothDependency. - In the pop-up window, select the realigned, slice time corrected, and normalised time series -
Normalise: write: normalised images (subj 1)and pressOK. - Select
FWHMand change[8 8 8]to[6 6 6].
- Select
- Now that all your preprocessing steps have been specified, save this batch -
FileSave batch and scriptand name it, e.g.preprocessing_batch.mat. Make sure you selectSave batch and scriptnotSave batch. This will be important for the next step.
You can now run this batch to execute all selected preprocessing steps for this subject by clicking or use it to create a matlab script to process data from multiple subjects.