fMRI data preprocessing
Normalisation
Normalisation refers to bringing your data into a standard template space to allow group-level statistics.
Why normalise my data?
Normalisation is an essential step in neuroimaging analysis that allows group-level analyses. When neuroimaging data is normalised it means it has been transformed to fit into a standard template space. While many different templates exist, the most commonly used one is MNI152.
For a thorough overview of issues related to normalisation, see the SPM book:
And other readings:
Ashburner, J. and Firston, K.J. (2005) Unified segmentation.
-
From the SPM menu panel, select
Normalise (Write). You will see a pop-up window appear looking like this: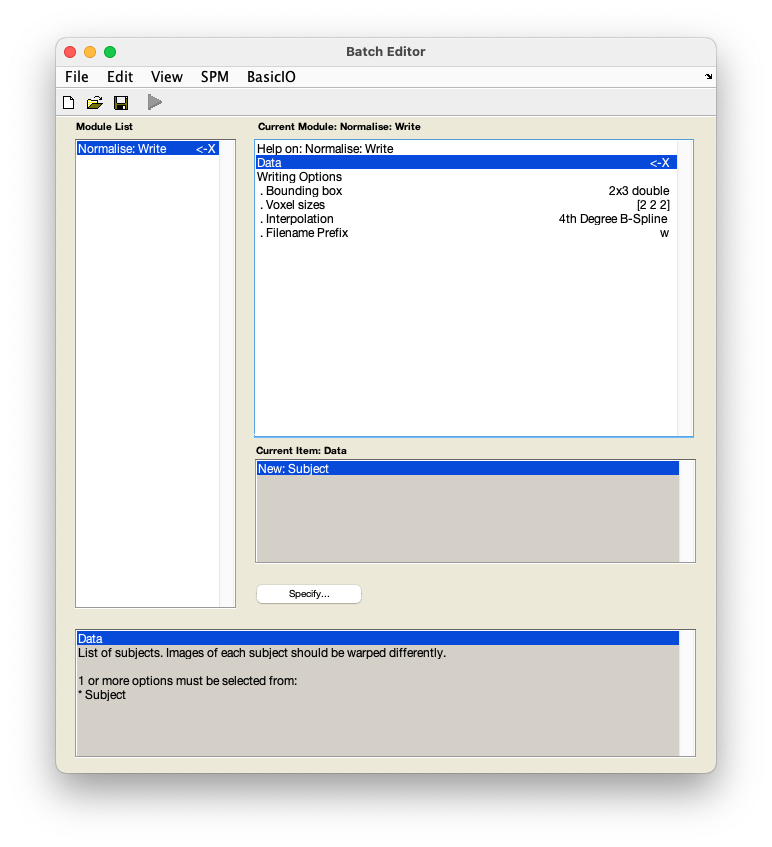
-
Select
DataNew: Subject. - Select
Deformation field. - In the pop-up window, use the left-hand panel to navigate to
sub-01/anat/. - From the right-hand panel, select the deformation field generated during coregistration -
y_sub-01_T1w.niiand pressDone. - Select
Images to write. - In the pop-up window, navigate to
sub-01/func/. - From the right-hand panel, use the box underneath the
Filterbutton to show a 4D file by typing inNaNand pressing Enter. You can do this in combination with filtering for file names starting witharby typing in^ar.*in theFilterbox and pressing Enter. Select the realigned and slice time corrected data -arsub-01_task-auditory.nii. - Optional: Under
Writing options, changeVoxel sizesform[2 2 2]to[3 3 3]. This will write images at a resolution closer to that at which they were acquired. - Save this batch for future reference -
FileSave batchand name it, e.g.normalisation_batch.mat. - Run your batch by pressing .
SPM will now write spatially normalised versions of the images to the folder that contains the functional data, i.e. sub-01/func/. These files have the prefix w.